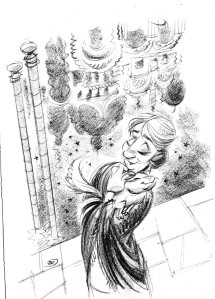
How To Become An Illustrator, Canto II

Step Two. Organize your business.

The very idea of organizing a business bores the pants off us creatives.

But, illustration is a business.  We create something people want to buy, and sell it at a profit.  That seems fairly straightforward, but let me tell you that many illustrators sell their work at a loss—and don’t realize it.  How can that be?

Those illustrators haven’t taken the time to calculate their expenses, or overhead.  They don’t know how much it costs them on a daily basis to run an illustration business. They don’t know how to calculate a price for their work based on the cost of doing business.  They haven’t gotten themselves organized.

Even if you’re running a bare-bones illustration business off of your kitchen table, you’ll need to spend money on equipment and supplies.  If you work traditionally, you’ll need art supplies: paint, board, brushes, &c.  If you work digitally, you’ll need software.  Either way you’ll need a computer, printer, scanner, bookkeeping software (more on that in a moment), office supplies: stationery, packing materials.  You’ll need a filing system and storage.  Add onto that a phone and internet access. Also figure rent and electricity.

Those are your operating costs.

Here’s the formula.  Add up all your business expenses for a year.  For your big ticket items like a computer, add up your credit card payments for a year.

Add your salary onto that.

Divide that total by 230 working business days per year (52 weeks minus 6 weeks vacation, sick time, and holidays).  Even if you’re illustrating part-time, use 230 days.

Add a 10-15% profit margin.

That’s your day rate.  That’s how much you charge if an illustration takes you one day to do.

Now, how do you keep track of all that information?  I recommend QuickBooks Pro. This is software that allows you to set up your books, write checks, create estimates and send invoices.  I use it to keep track of and categorize all my expenses.  It has a feature where you can record the time you’ve spent on a project.  Of course, you can do all that by hand, but if you’re as bookkeeping-averse as me, this really helps.  It also has fun charts and graphs to tell you if you’re making any money.

The other bookkeeping software I find indispensable is Now and Up To Date. Basically it’s calendar for your computer.  There are other calendar programs that probably work just as well, I happen to use this one.  It allows me to plan my time for projects and keeps me on track with deadlines.  Also I can see how much time past projects have taken, so that I can estimate time needed for future ones.  As with QuickBooks, it’s visually fun, making me more inclined to use it.

Once you’re ready to keep track of your business you can start going after illustration projects.  Let’s be honest, because you’re just starting out you’re going to accept work that won’t make you any money.  But at least now you know how much you should be charging.

By the way, I look like a genius when I talk about this stuff because I own a copy of the Graphic Artists’ Guild’s Handbook of Pricing & Ethical Guidelines. If you join the Guild they’ll shoot you a copy for free.

How To Become An Illustrator, Canto I

I received an e-mail from Jim, who recently graduated with  a bachelor of visual arts from Boise State University in Boise, Idaho.  He asks: how does one go about becoming a professional illustrator?

That’s an excellent question.  I’ve been asked that question by more than one art school grad newly saddled with five-digit debt and no indication from his professors about how to make money with his skills.  Art schools: would it kill you to include a couple of business courses in your curriculum?

So anyway, since there may be others asking Jim’s question, I thought my response would make excellent blog fodder.  I’ll respond in several posts.  Illustrators/Designers: please comment if you have additional thoughts.  I’m just one guy; I can’t know everything.

Step One.  Get a job.

Being a professional illustrator means you’re a freelancer, you work for yourself, you own your own business.  There are very few staff jobs for illustrators.  If you can find one, fantastic, you’ve hit the jackpot.  The vast majority of illustrators are self-employed.

In order to be self-employed you need to have a clientele, a calendar full of jobs, a portfolio full of samples, a business checking account, a studio, studio furniture, computer, printer, scanner, phone, art supplies, office supplies and a coffee maker.  When I graduated from art school I had none of those things.  Moreover, I had no clue how to conduct an interview, so I was no good at prospecting for work.

Don’t fret—if you’re serious about being an illustrator, you will acquire all these things.  But that’s going to take time, and all the while you’ll need to buy groceries and pay rent.

Get yourself hired on staff somewhere.  Ideally, you’ll find an entry-level position with some connection to graphic design—a printer, newspaper, Kinko’s, quick sign shop, whatever. Getting an entry-level graphic design position would be ideal because that job will bring you into contact with other working designers, who may become part of your client roster. Since illustration is a graphic design discipline, you’ll be learning skills that will help you to illustrate.  But if you can’t, just get a job. Rent and bills come along every month, and you need a paycheck that comes along just as regularly.  If BSU has recently thrust a new batch of grads onto the unsuspecting businesses of Boise, you may find more opportunities if you relocate.

The main thing is, once you’ve secured a job and have a regular paycheck, you can get started building your business after hours.  This is called moonlighting.  Illustrators see a lot of moonlight—while their friends are partying or asleep.

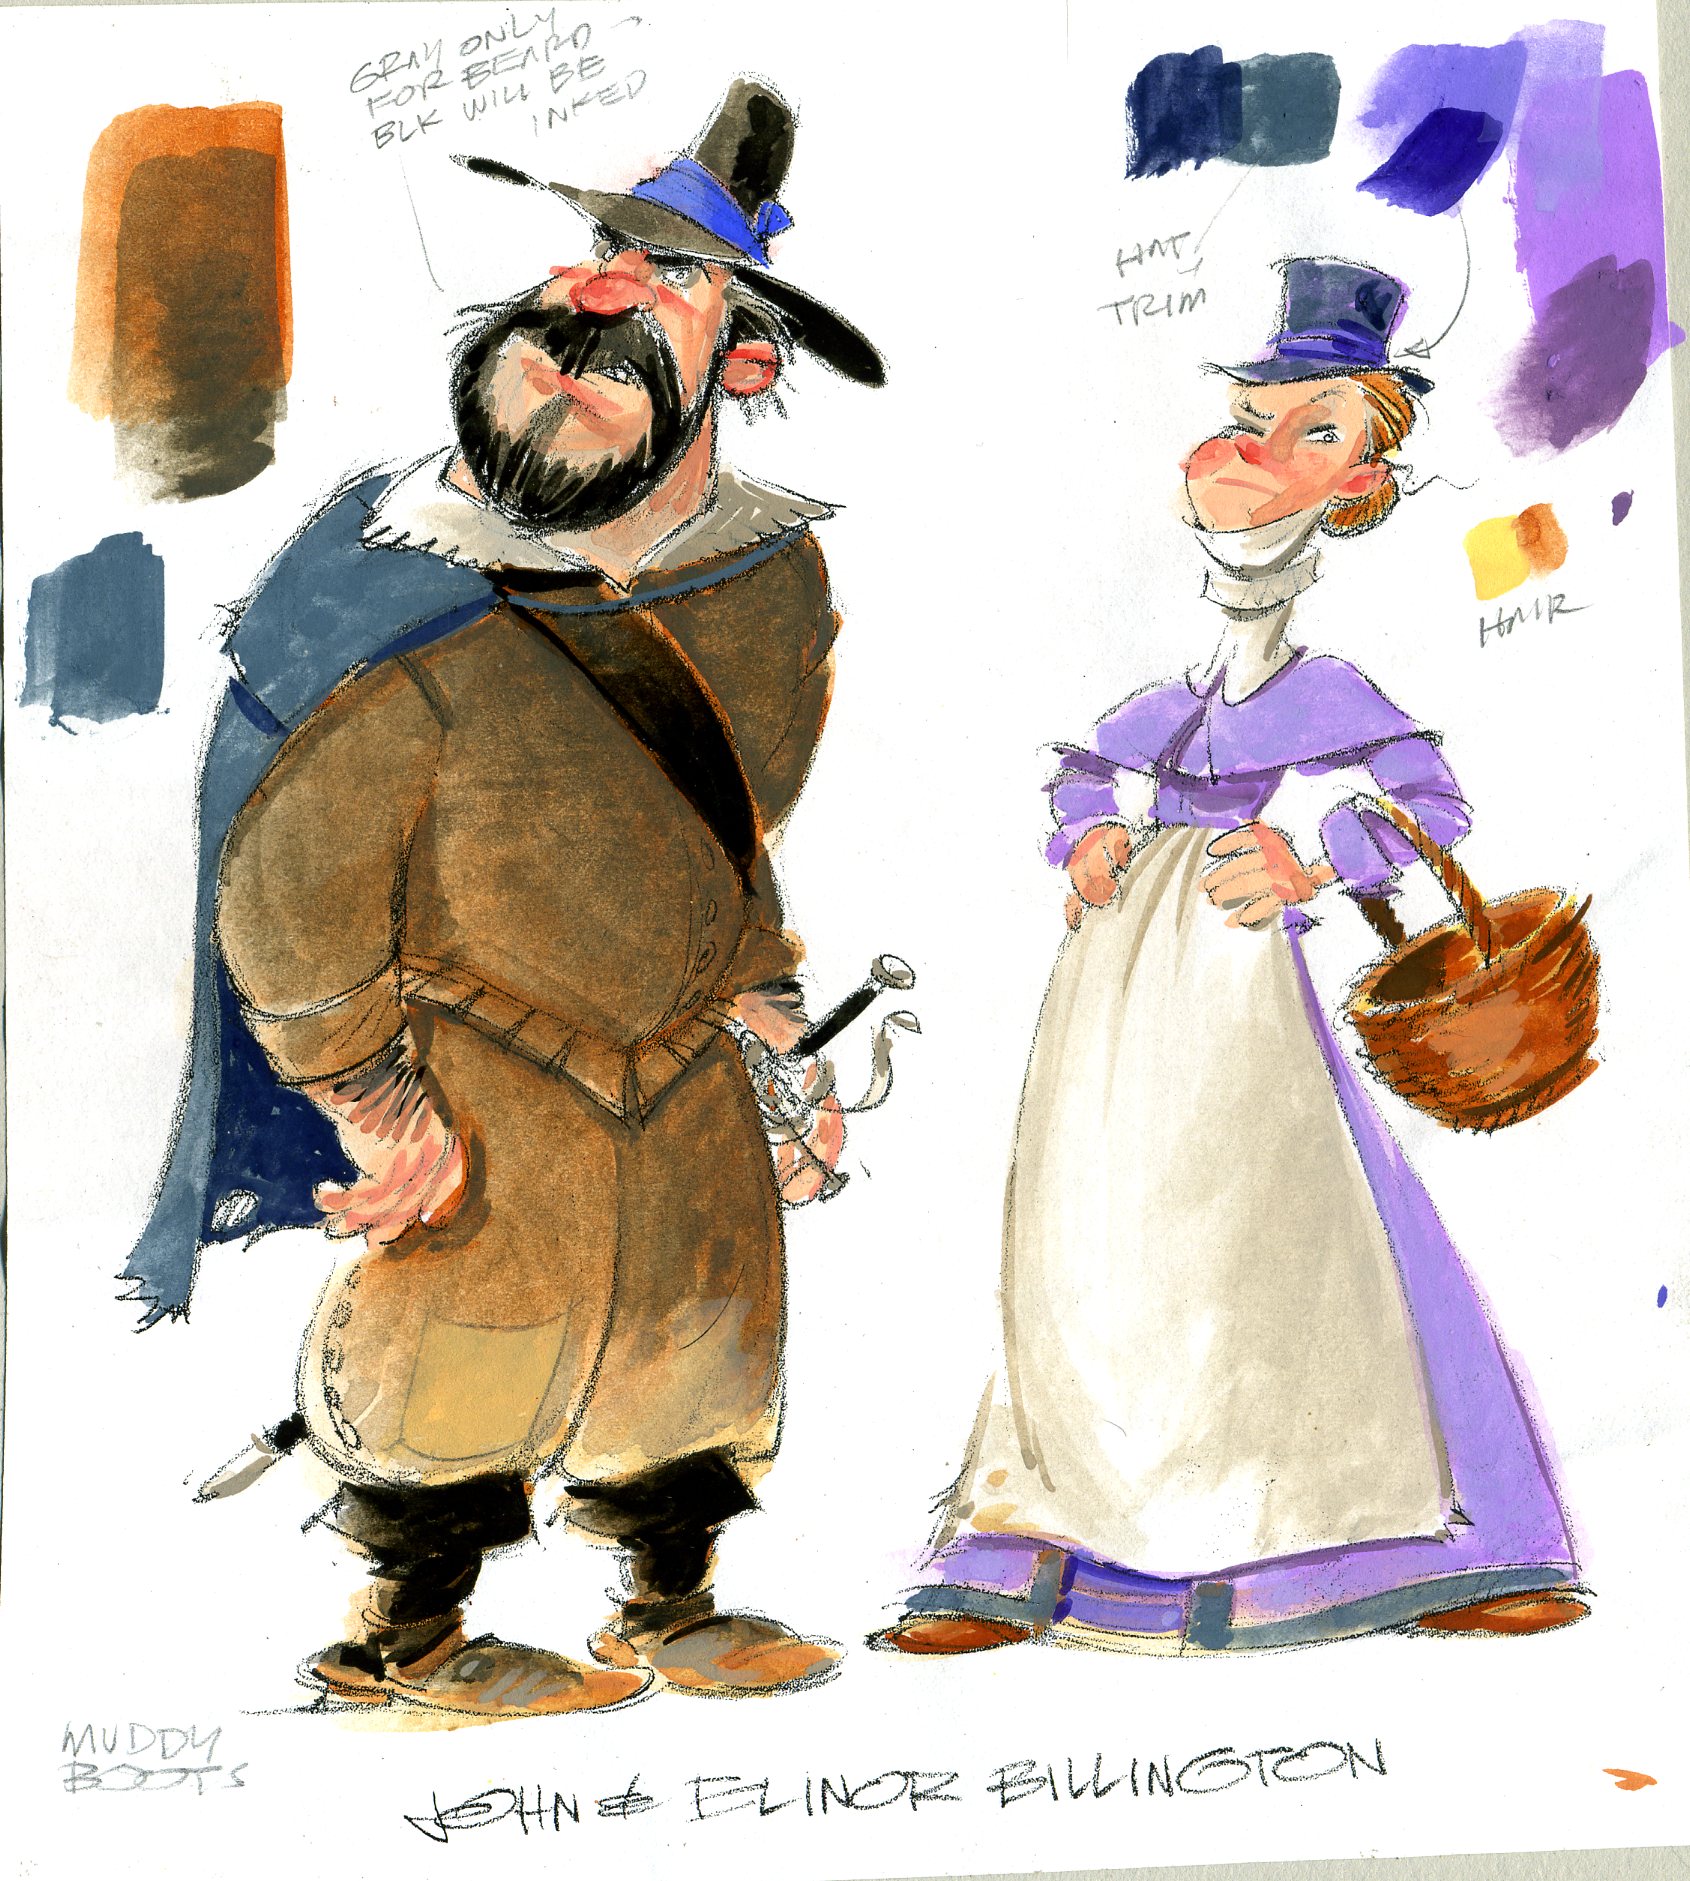
John & Elinor Billington

Here are some more character designs from Two Bad PilgrimsJohn & Elinor Billington were Francis & Johnny’s mom and dad.  The passengers on the Mayflower comprised 2 groups: the Saints and the Strangers.  The Saints were the Puritans who wanted to found a colony where they could practice a Christianity free from the corruption of their religion in Europe.

The Strangers weren’t necessarily religious, but came to the New World for a variety of reasons.  The Billingtons were among the Strangers, and their reason for the voyage was to escape debt.  John Billington was certainly no saint—he was a bully who constantly antagonized Miles Standish to the point that Standish took legal action against him.  Eventually, John Billington met his end by making history: he was the first man in the New World to be hanged for murder.

I’ve drawn John & Elinor shabby-genteel, a couple who once had money but have fallen on hard times.

johnandelinorb

johnbillington

johnandelinor.color

Underpainting

When I paint, my favorite medium is gouache (rhymes with squash).  It’s opaque watercolor and versatile: I can water the colors down to transparency or paint them on thick and opaque.  If I need to make a change after the paint’s dry, I can soak off most of the paint with a damp paper towel and start over.

Since my style is so cartoony—which was not a selling point with children’s art directors when I started out—I learned to paint in a classic sort of way.  My goal is to make objects in my pictures look three-dimensional by modeling them, by rendering the light and shadow.

Figuring out light and shadow while worrying about color is not easy!  I found it’s simplest to separate the two activities.  I paint light and shadow first, then add color on top later.

The first step is called underpainting.  I like to use a warm brown, Burnt Sienna, for that step.

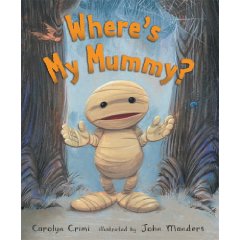
Here’s a page from Where’s My Mummy? another collaboration with my pal Carolyn Crimi. This story is about Baby Mummy’s one last game of hide-and-go-shriek before bedtime.  All the monsters in the graveyard are getting ready for bed.

51GQNH0m+LL._SL500_AA240_

I should mention that as usual, I was behind schedule with this project and got lots of painting help from the talented Rhonda Libbey, who blocked in big areas of color.

Okay, first the sketch:

mummy.revise.08

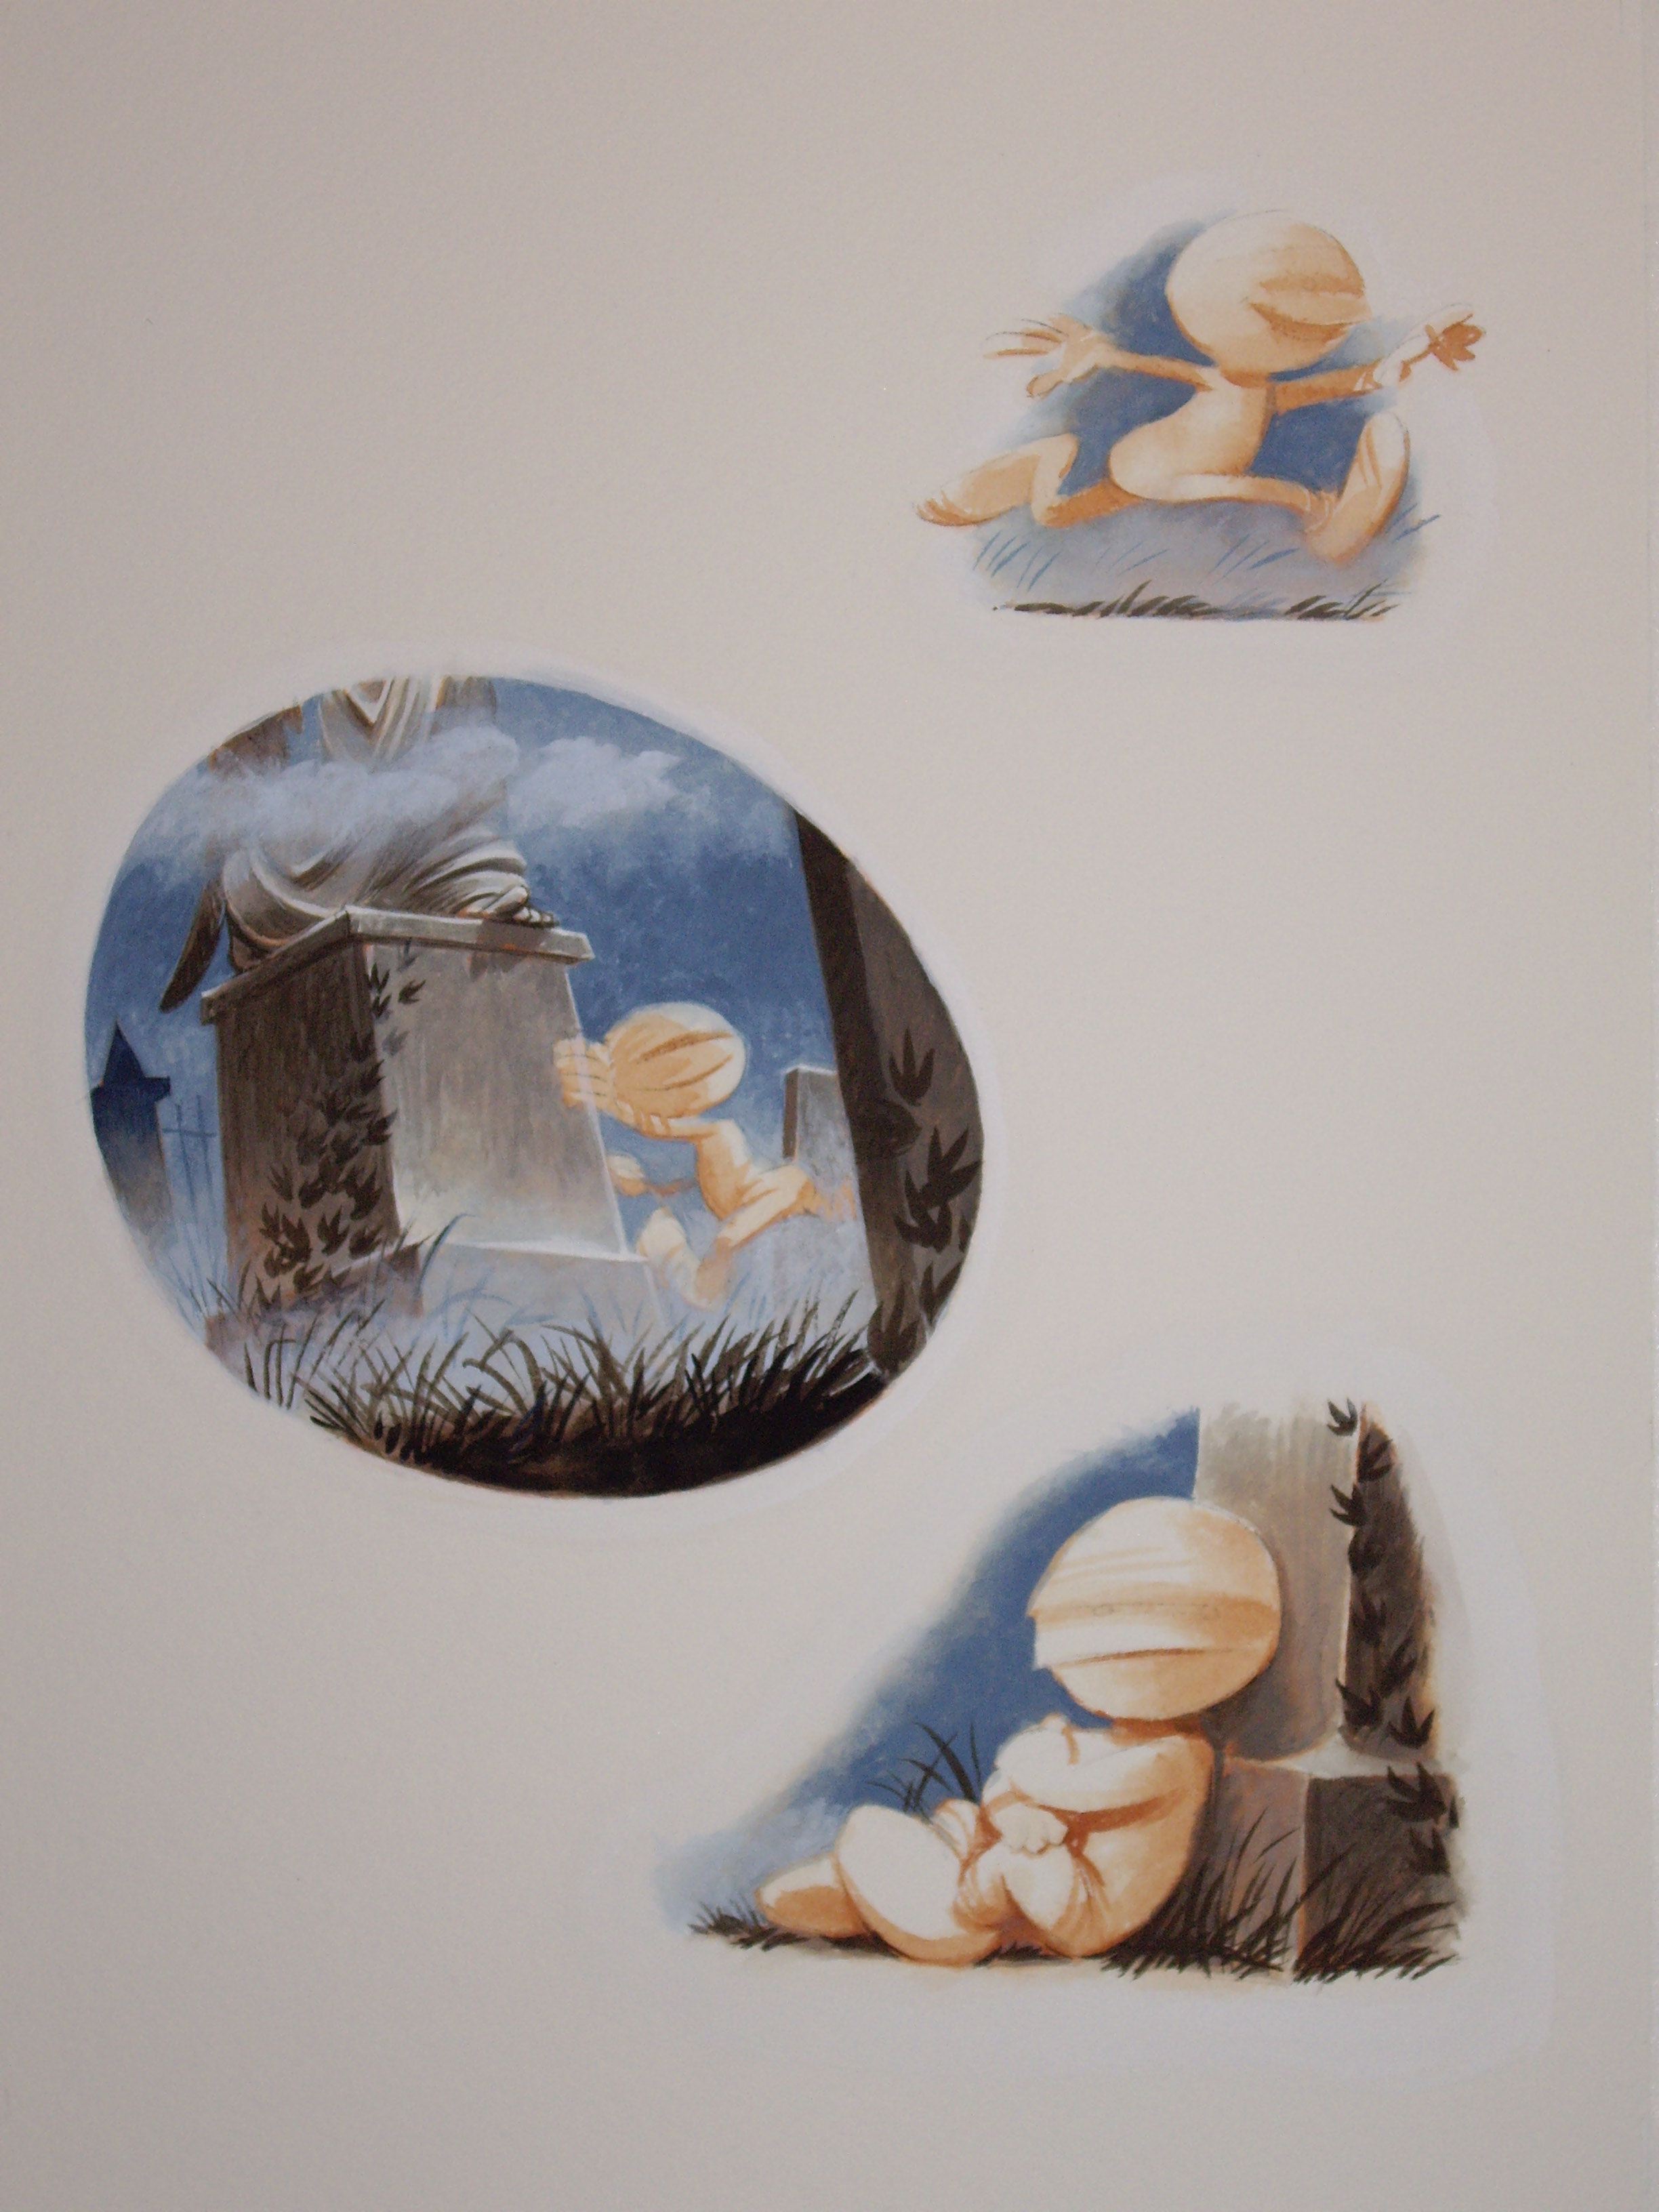
You can already see many of the shadows in the sketch.  The scene’s a graveyard, so shadows are important for mood.  Here are the shadows painted in Burnt Sienna:

mum.ip.08

You should be able to tell from which direction the light’s coming.  I try to avoid detail in the underpainting and concentrate on the masses of light and dark.  It’s really an abstract design.  I didn’t paint the vines growing on the tombstones, for instance.  Now here’s the color painted on top of the warm brown underpainting:

mum.ip.08a

I was trying to evoke those old black and white monster movies, so I used a very restrained palette, or range of colors.  There are few bright colors in this book.

One of the nice things about the warm Burnt Sienna underpainting is that it peeks through the cold neutral overpainting here and there.  I think that the underpainting also helps to unify the illustration by giving all the colors something in common.

You’ll notice that I haven’t yet painted the Baby Mummy.  First I paint my backgounds, then  I paint the characters.  That helps me keep all those elements consistent throughout the 32-page book.

Here’s another image—in progress—from the same book.  I haven’t painted the characters yet, just the background.

mum.ip.20

And here’s the finished painting.  Dracula gets a bright red bathrobe.

mummy_03

More Pilgrims

511VudukEWL._SL500_AA240_

Here’s the character design for Miles Standish.  I do these sketches for the major characters in a book so that they look the same all the way through the story.  Proportions are difficult to keep consistent unless you take the time to do these.  It does make drawing the comprehensive sketches easier, because I’ve made myself familiar with the characters in their different poses.

newmilesstandish

The Indians nicknamed Standish ‘the shrimp,’ so I colored his costume pink with red showing in the slashed sleeves.  I gave him one of those lobster-tail helmets. Here’s the color sketch:

milesstandish.color

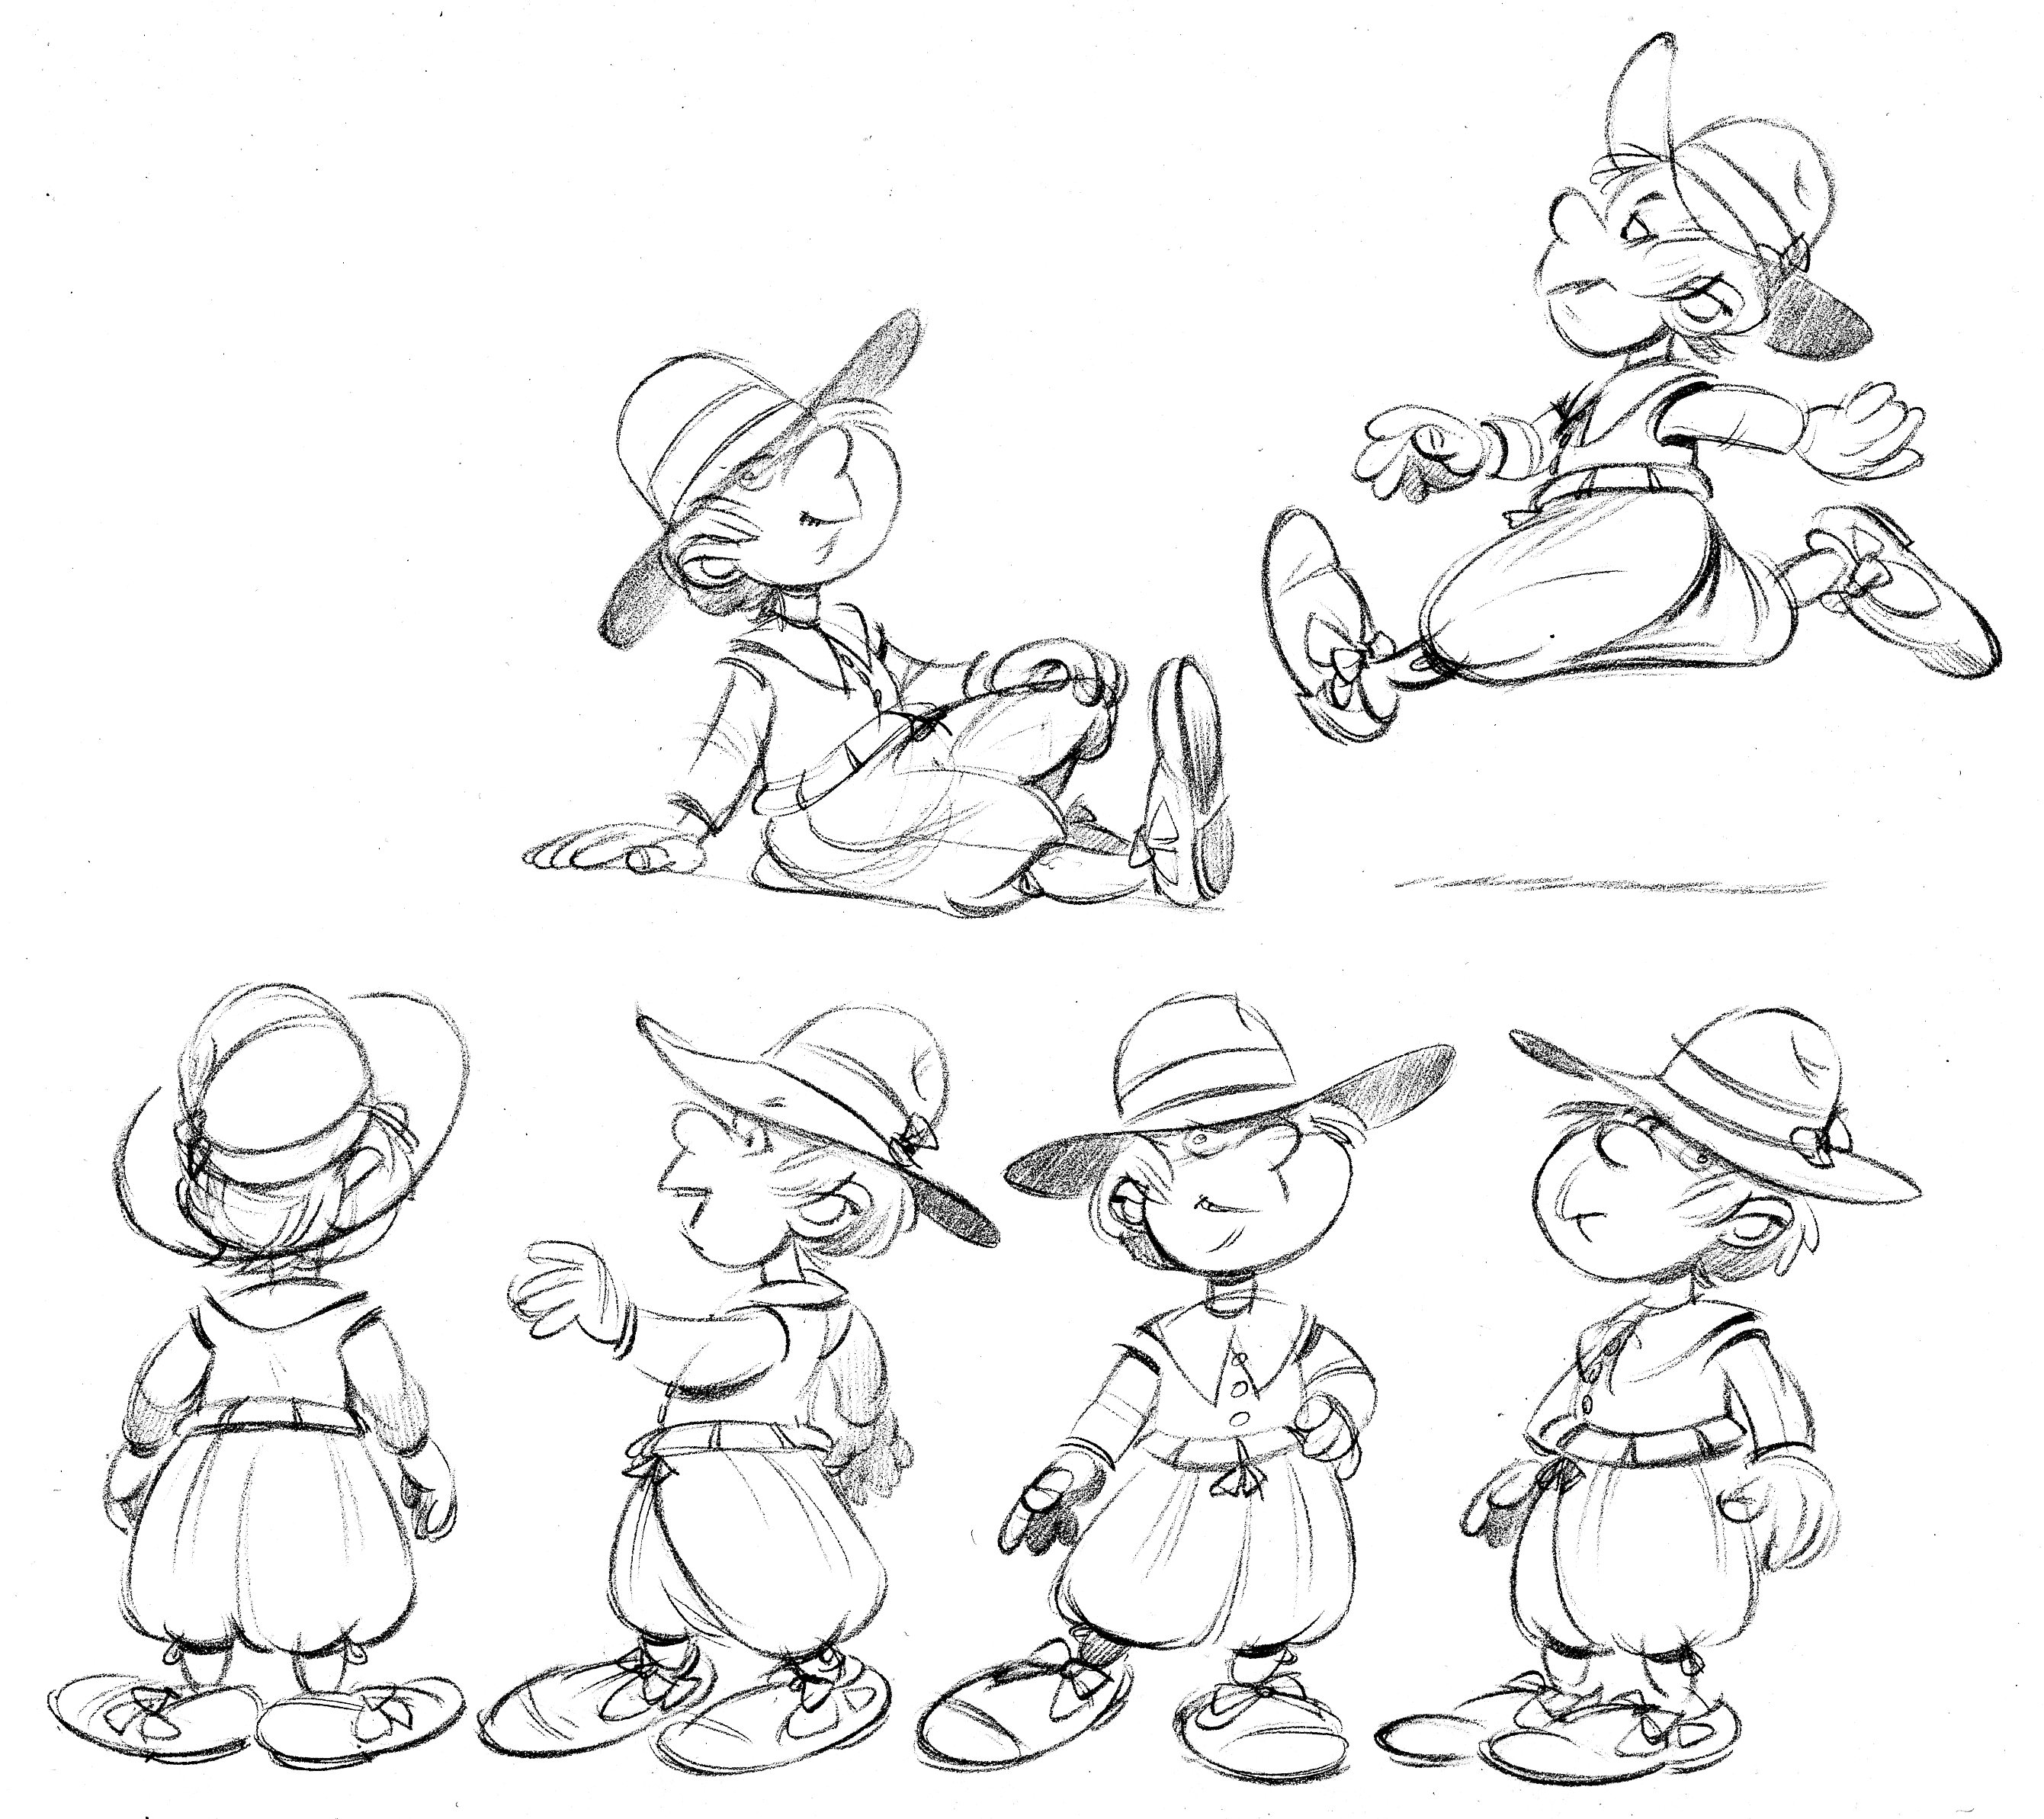
Here are color indications for Franky & Johnny, the Billington boys:

Frankie.color

Johnny.color

Two Bad Pilgrims

I’ve got another book coming out in August, Two Bad Pilgrims.

It’s the true story of the Billington brothers, who came to the New World on the Mayflower.  They were a couple of brats who nearly blew up the ship while fooling around with a fowling piece belowdecks.

The art director and editor asked that this project be given a graphic novel look.  When I was a kid, my goal was to become a comic book or strip artist.  So this was fun, but what a load of work!  Nineteen times more work than a conventional picture book.

I was never going to finish all this—thumbnail sketches, comp sketches, character designs, inking and coloring— on time without some help, so my buddy Vince Dorse jumped in to digitally colorize my black and white ink drawings.

Here are character designs for the 2 boys, Franky and Johnny.

francis

johnny

The thumbnail sketch for spread 18/19 (later bumped to 20/21). The thumbnail sketch is about 2 inches tall.

pilgrim.1819

The comprehensive sketch for page 20. I work about half-size.

p18

The inked-in version of page 20. This is a night scene at the top.  I really enjoyed dropping in those big areas of solid black!

p20ink

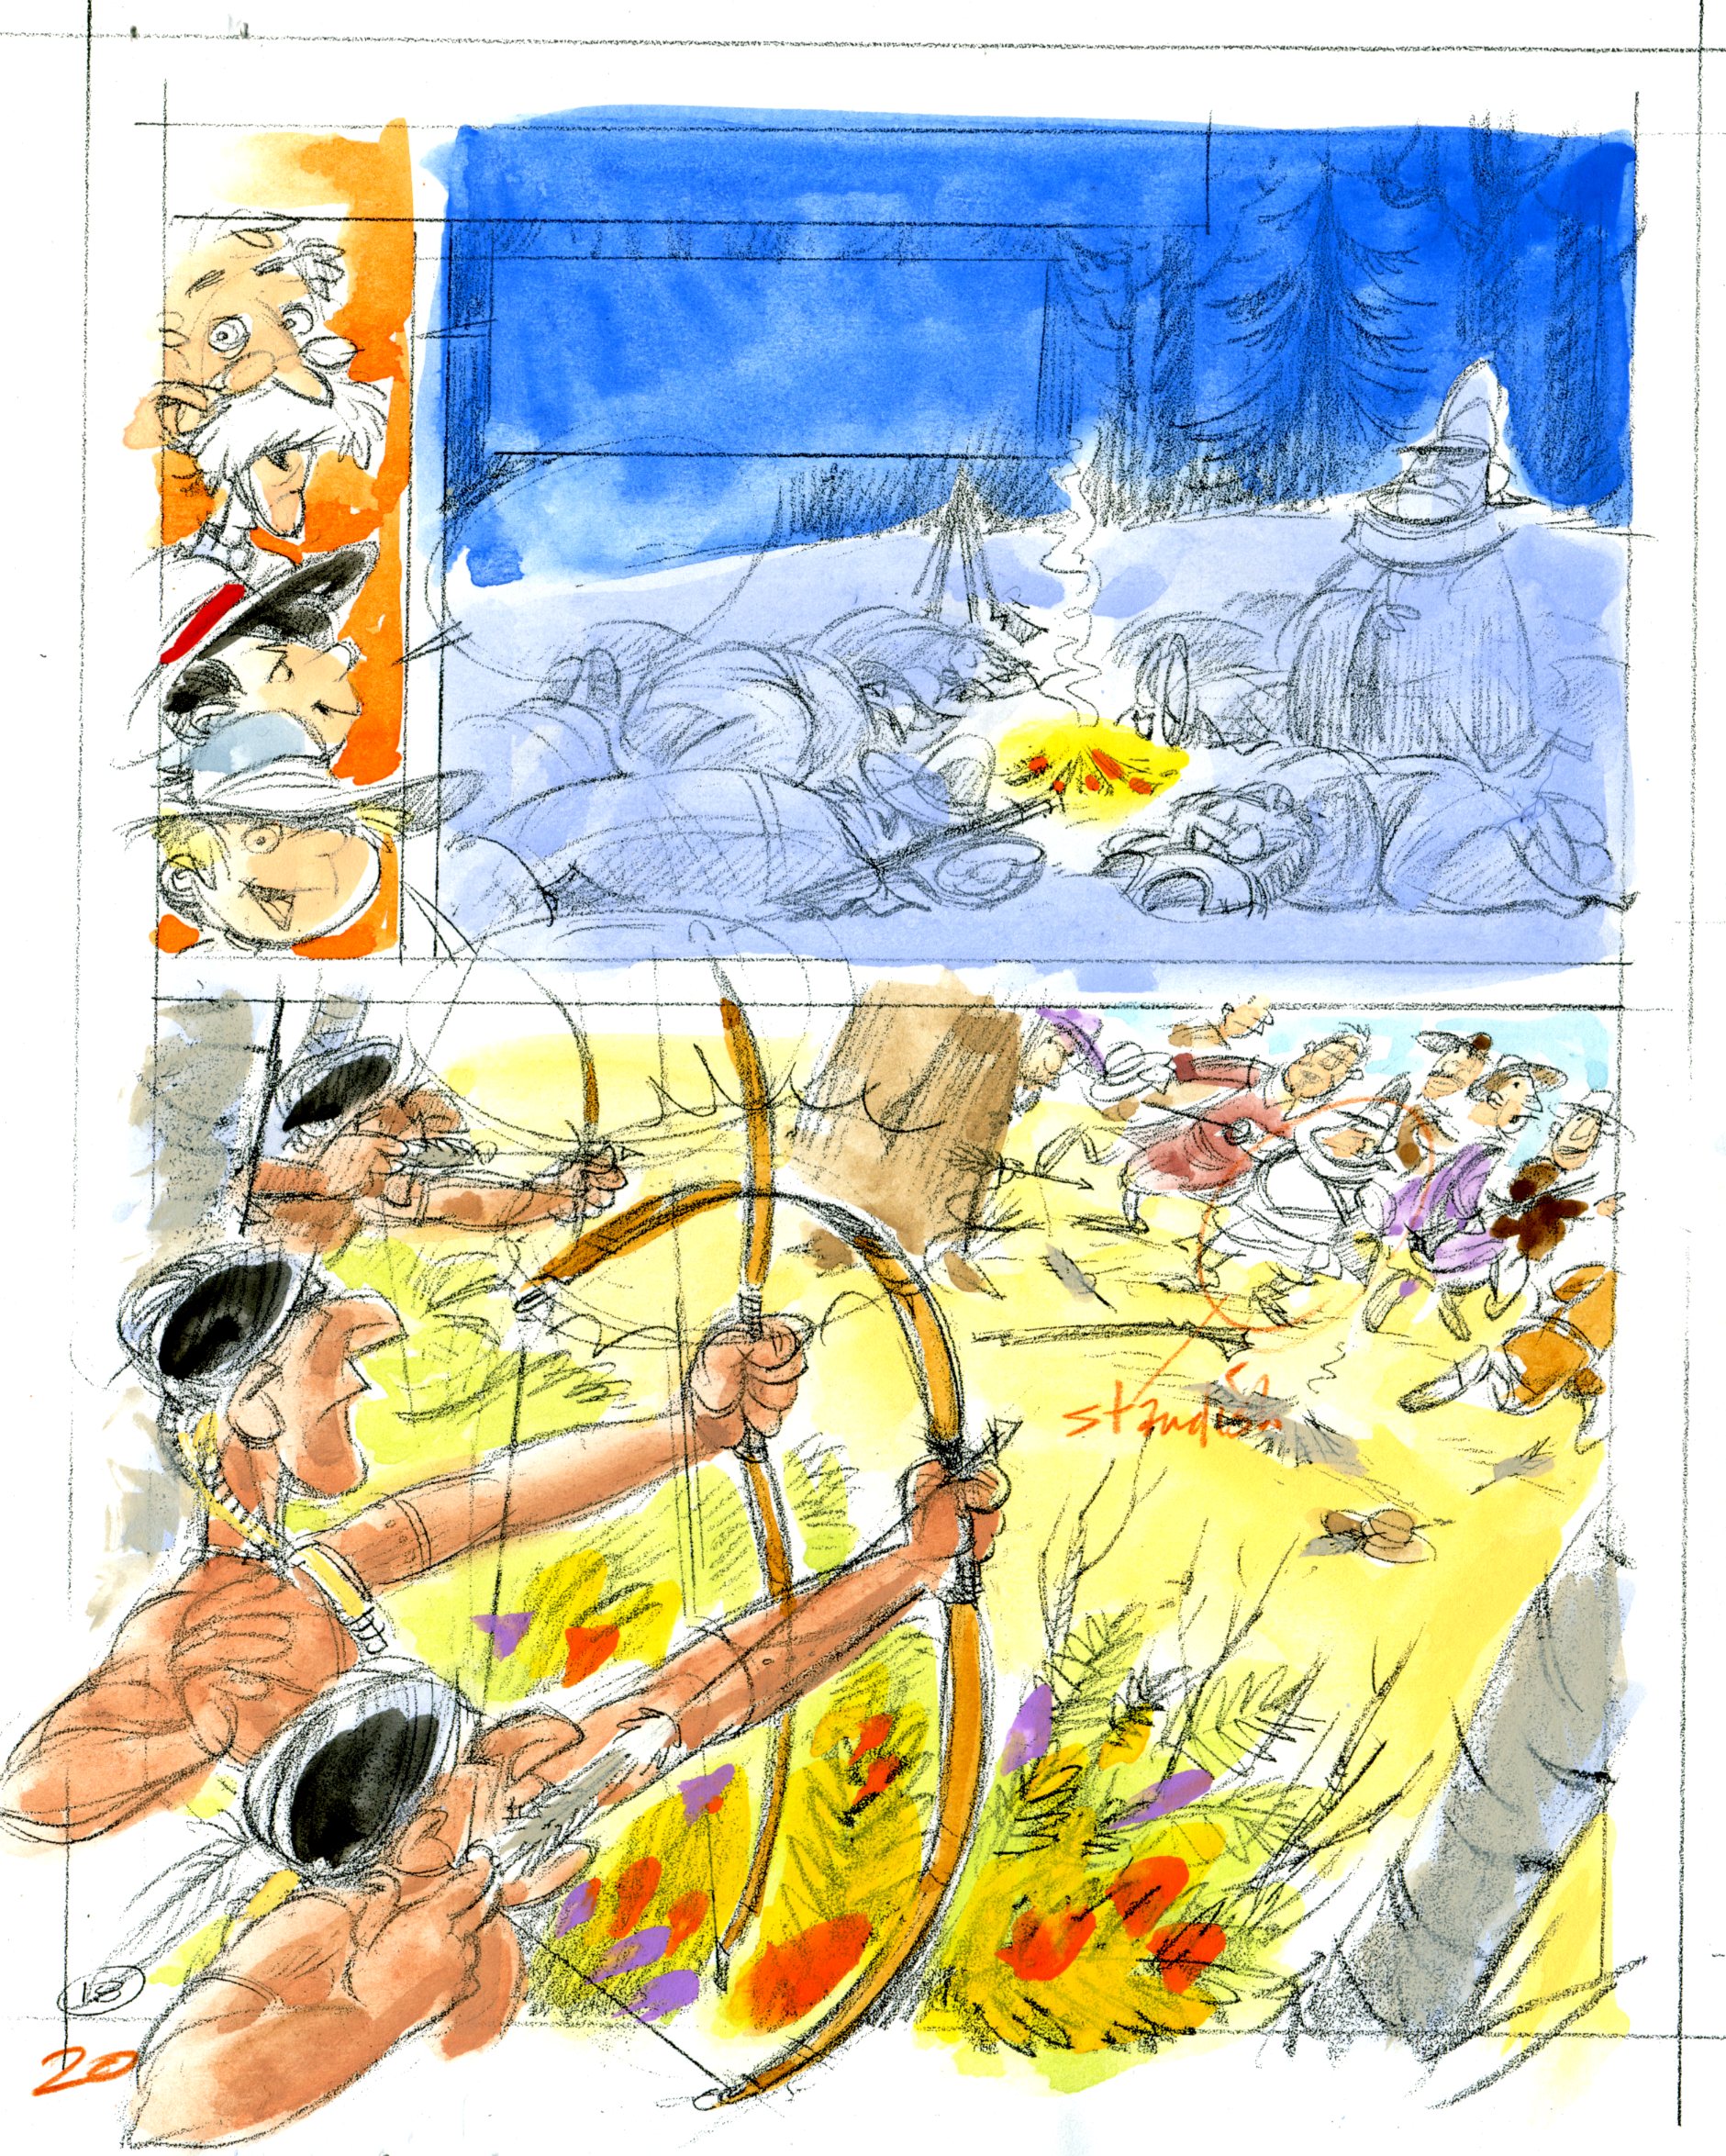
Now it’s time to color it in.  I painted this little color sketch for Vince.

pilg20colorsk

And here’s his beautiful colorization.

p20color

This one is near, that one is far

When I talk about perspective, I’m talking about how an artist creates the illusion of distance in a flat drawing or painting.  Two ways to do that are 1) make the nearer object big and the farther object small, and 2) make the nearer object dark and the farther object light.

Here are some sketches from Henry & the Crazed Chicken Pirates.

We kids’ book illustrators are responsible for telling the author’s story in pictures.  So, when I work on a project, my first drawings are thumbnail sketches.  These are pretty small: maybe only an inch and a half tall.  Because they’re so tiny, I can draw them quickly and best of all, fit all of the scenes onto a single 18″ x 24″ piece of layout paper.  That way I can see the whole story at once.

1213.tn.chickens

Here’s the thumbnail sketch for pages 14/15.  It’s pretty rough, but everything is there.  Another huge advantage to working so small is that the image’s composition becomes clear and simple.  Notice the contrasts:  Henry, in the foreground, is big and dark; the balloon, in the background, is small and light.

Atmospheric perspective is a technique Leonardo, Raphael and the rest of the boys came up with during the Renaissance.  Things that are close to us are sharp and contrasty, things that are far away are muted and softer.  If you are looking at a mountain off in the distance, its colors are softer because you’re seeing them through air that’s full of dust, water particles, cigar smoke, car exhaust, bird poop, &c.

H&CC1415

Spread 14/15

The comprehensive sketch is more refined but I’ve kept to the same composition.

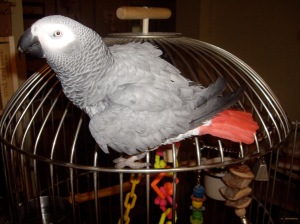
By the way, those parrots are inspired by my parrot, Sherman.

IMGP1186

Wacka-wacka!

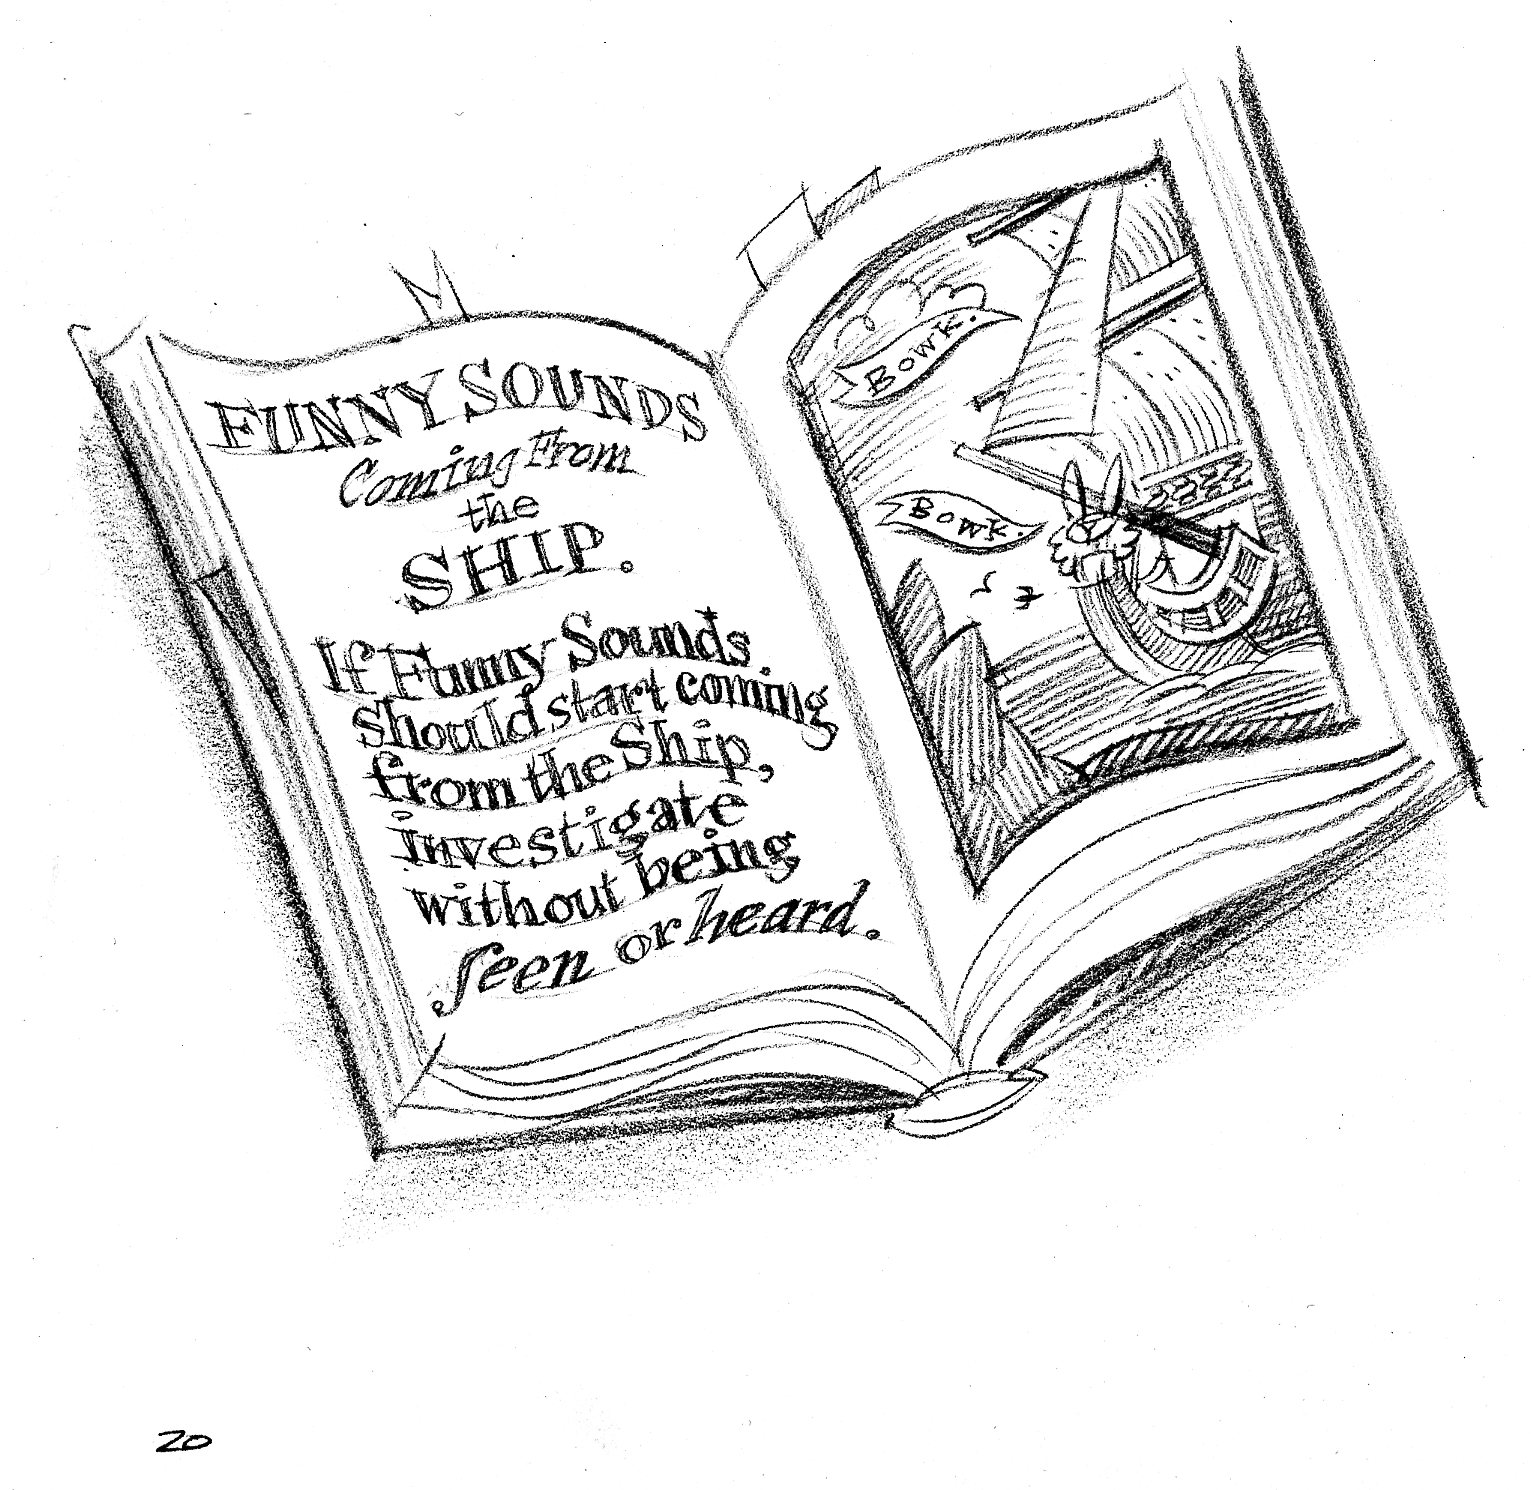
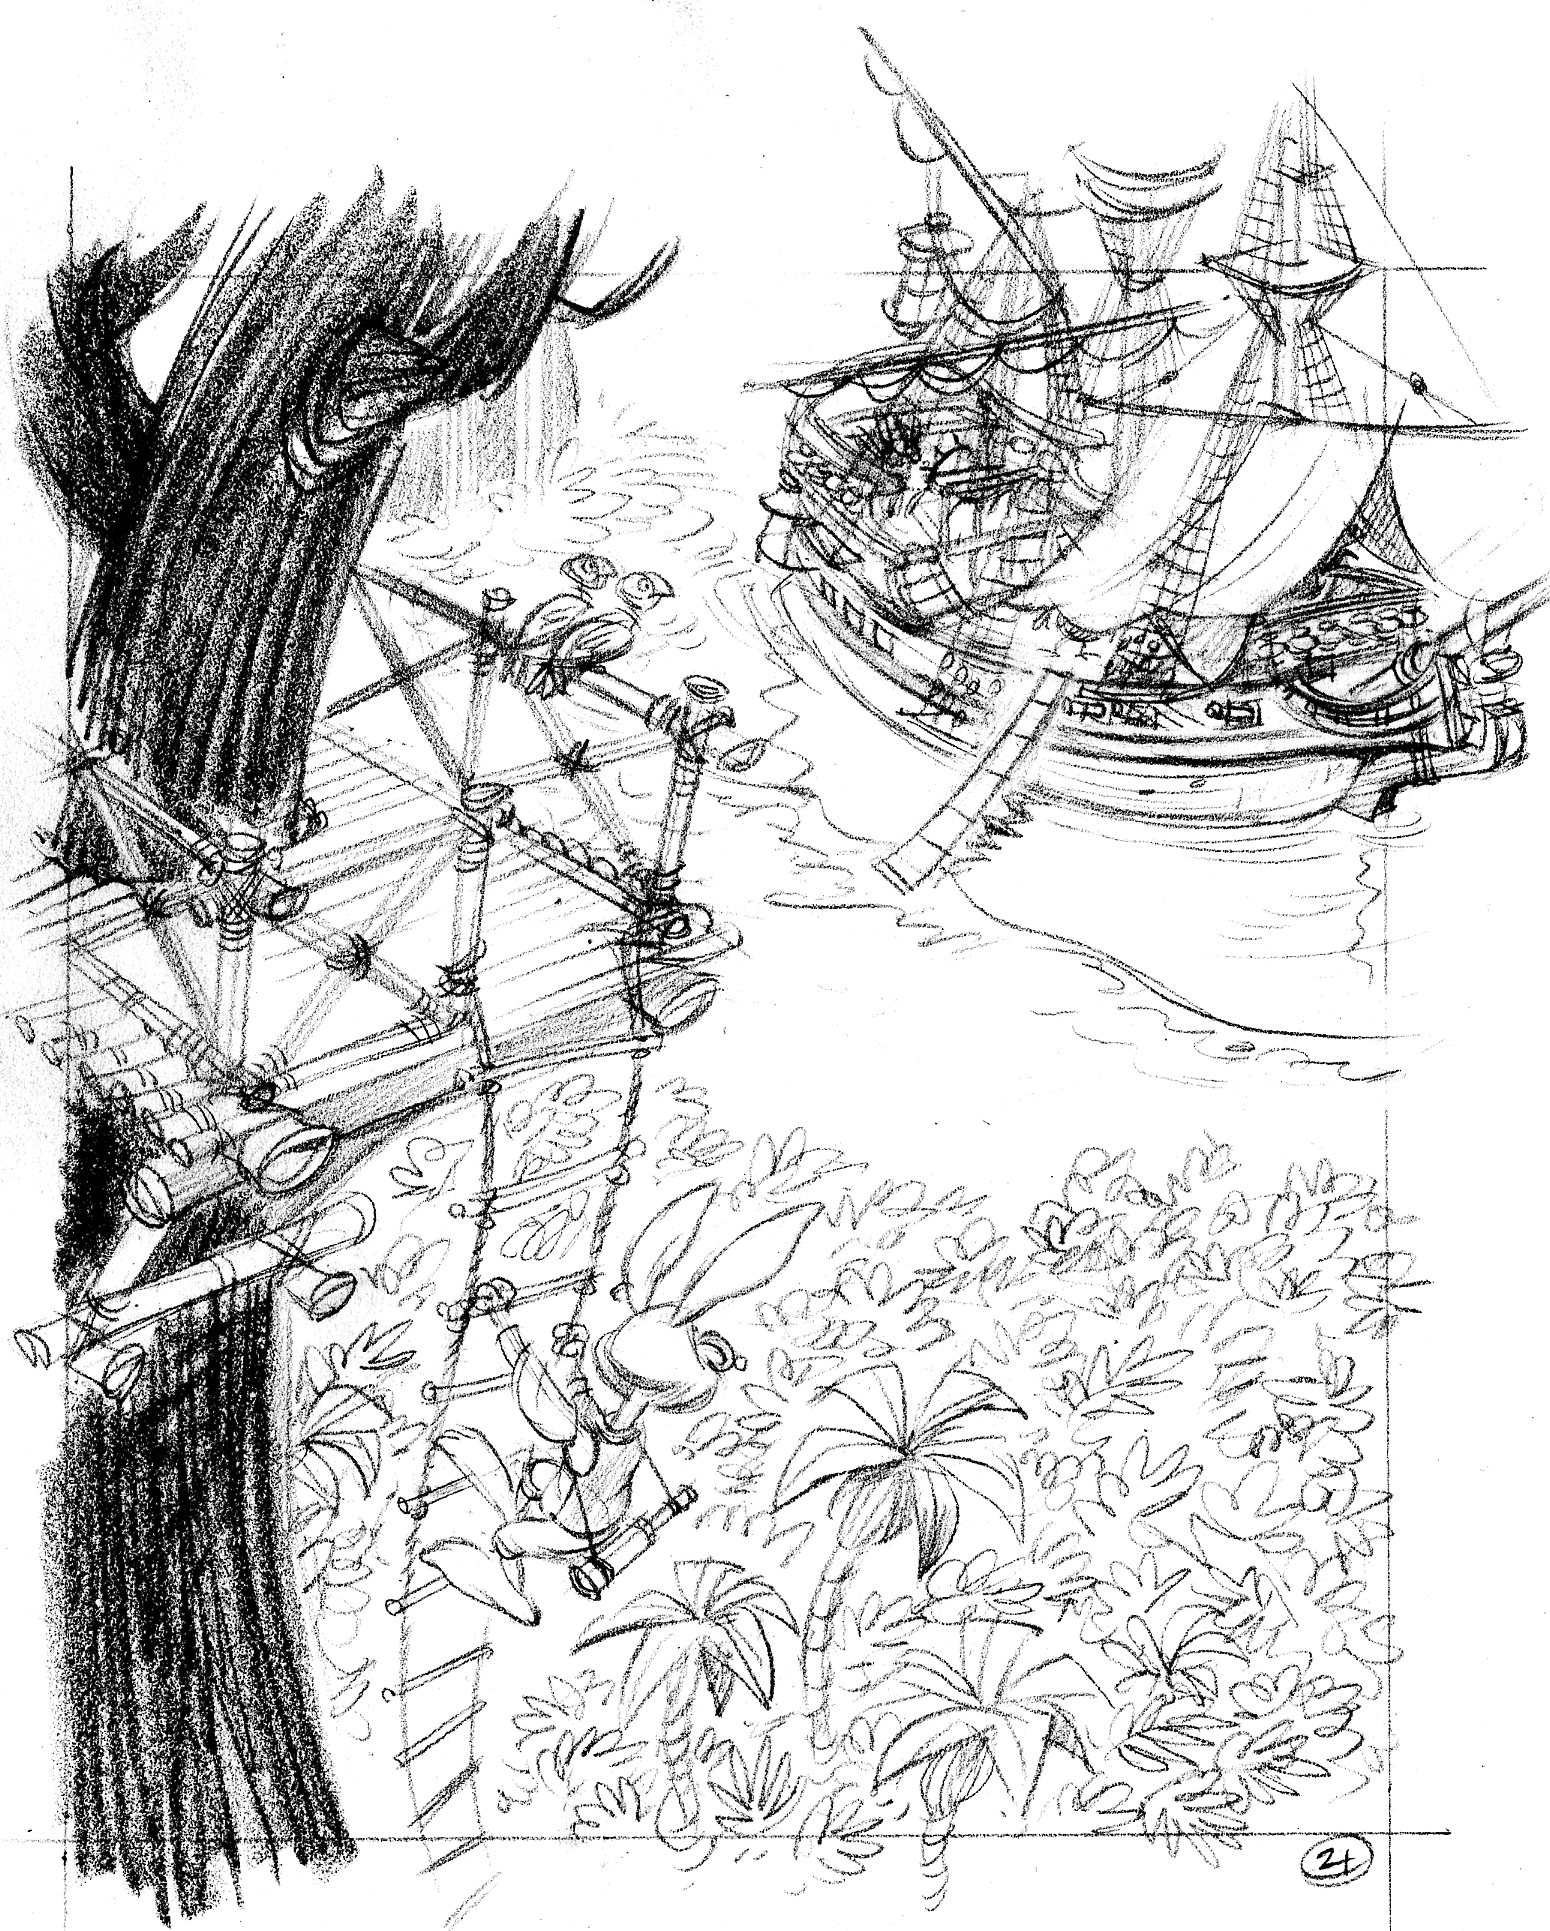
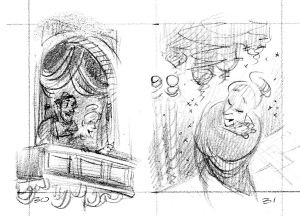
Sometimes the thumbnail isn’t quite doing the job, and the comprehensive sketch will change—and improve—what I’ve tried to do in the thumbnail version.  Here’s pages 20/21.

1819.tn.chickens

In the thumbnail version, these pages look a little confusing together.  On the left, Henry’s gaze and pointing finger lead the reader away from the spread.  It’s always a good idea to direct the reader’s attention into the spread, not out of it.  Also, the right side is okay, but not inspired.

H&CC2000

Left-hand page.  By taking Henry out of the picture and just showing the book, we’ve improved the image: the bunny’s gone, so he can’t point outside of the picture.

H&CC2100

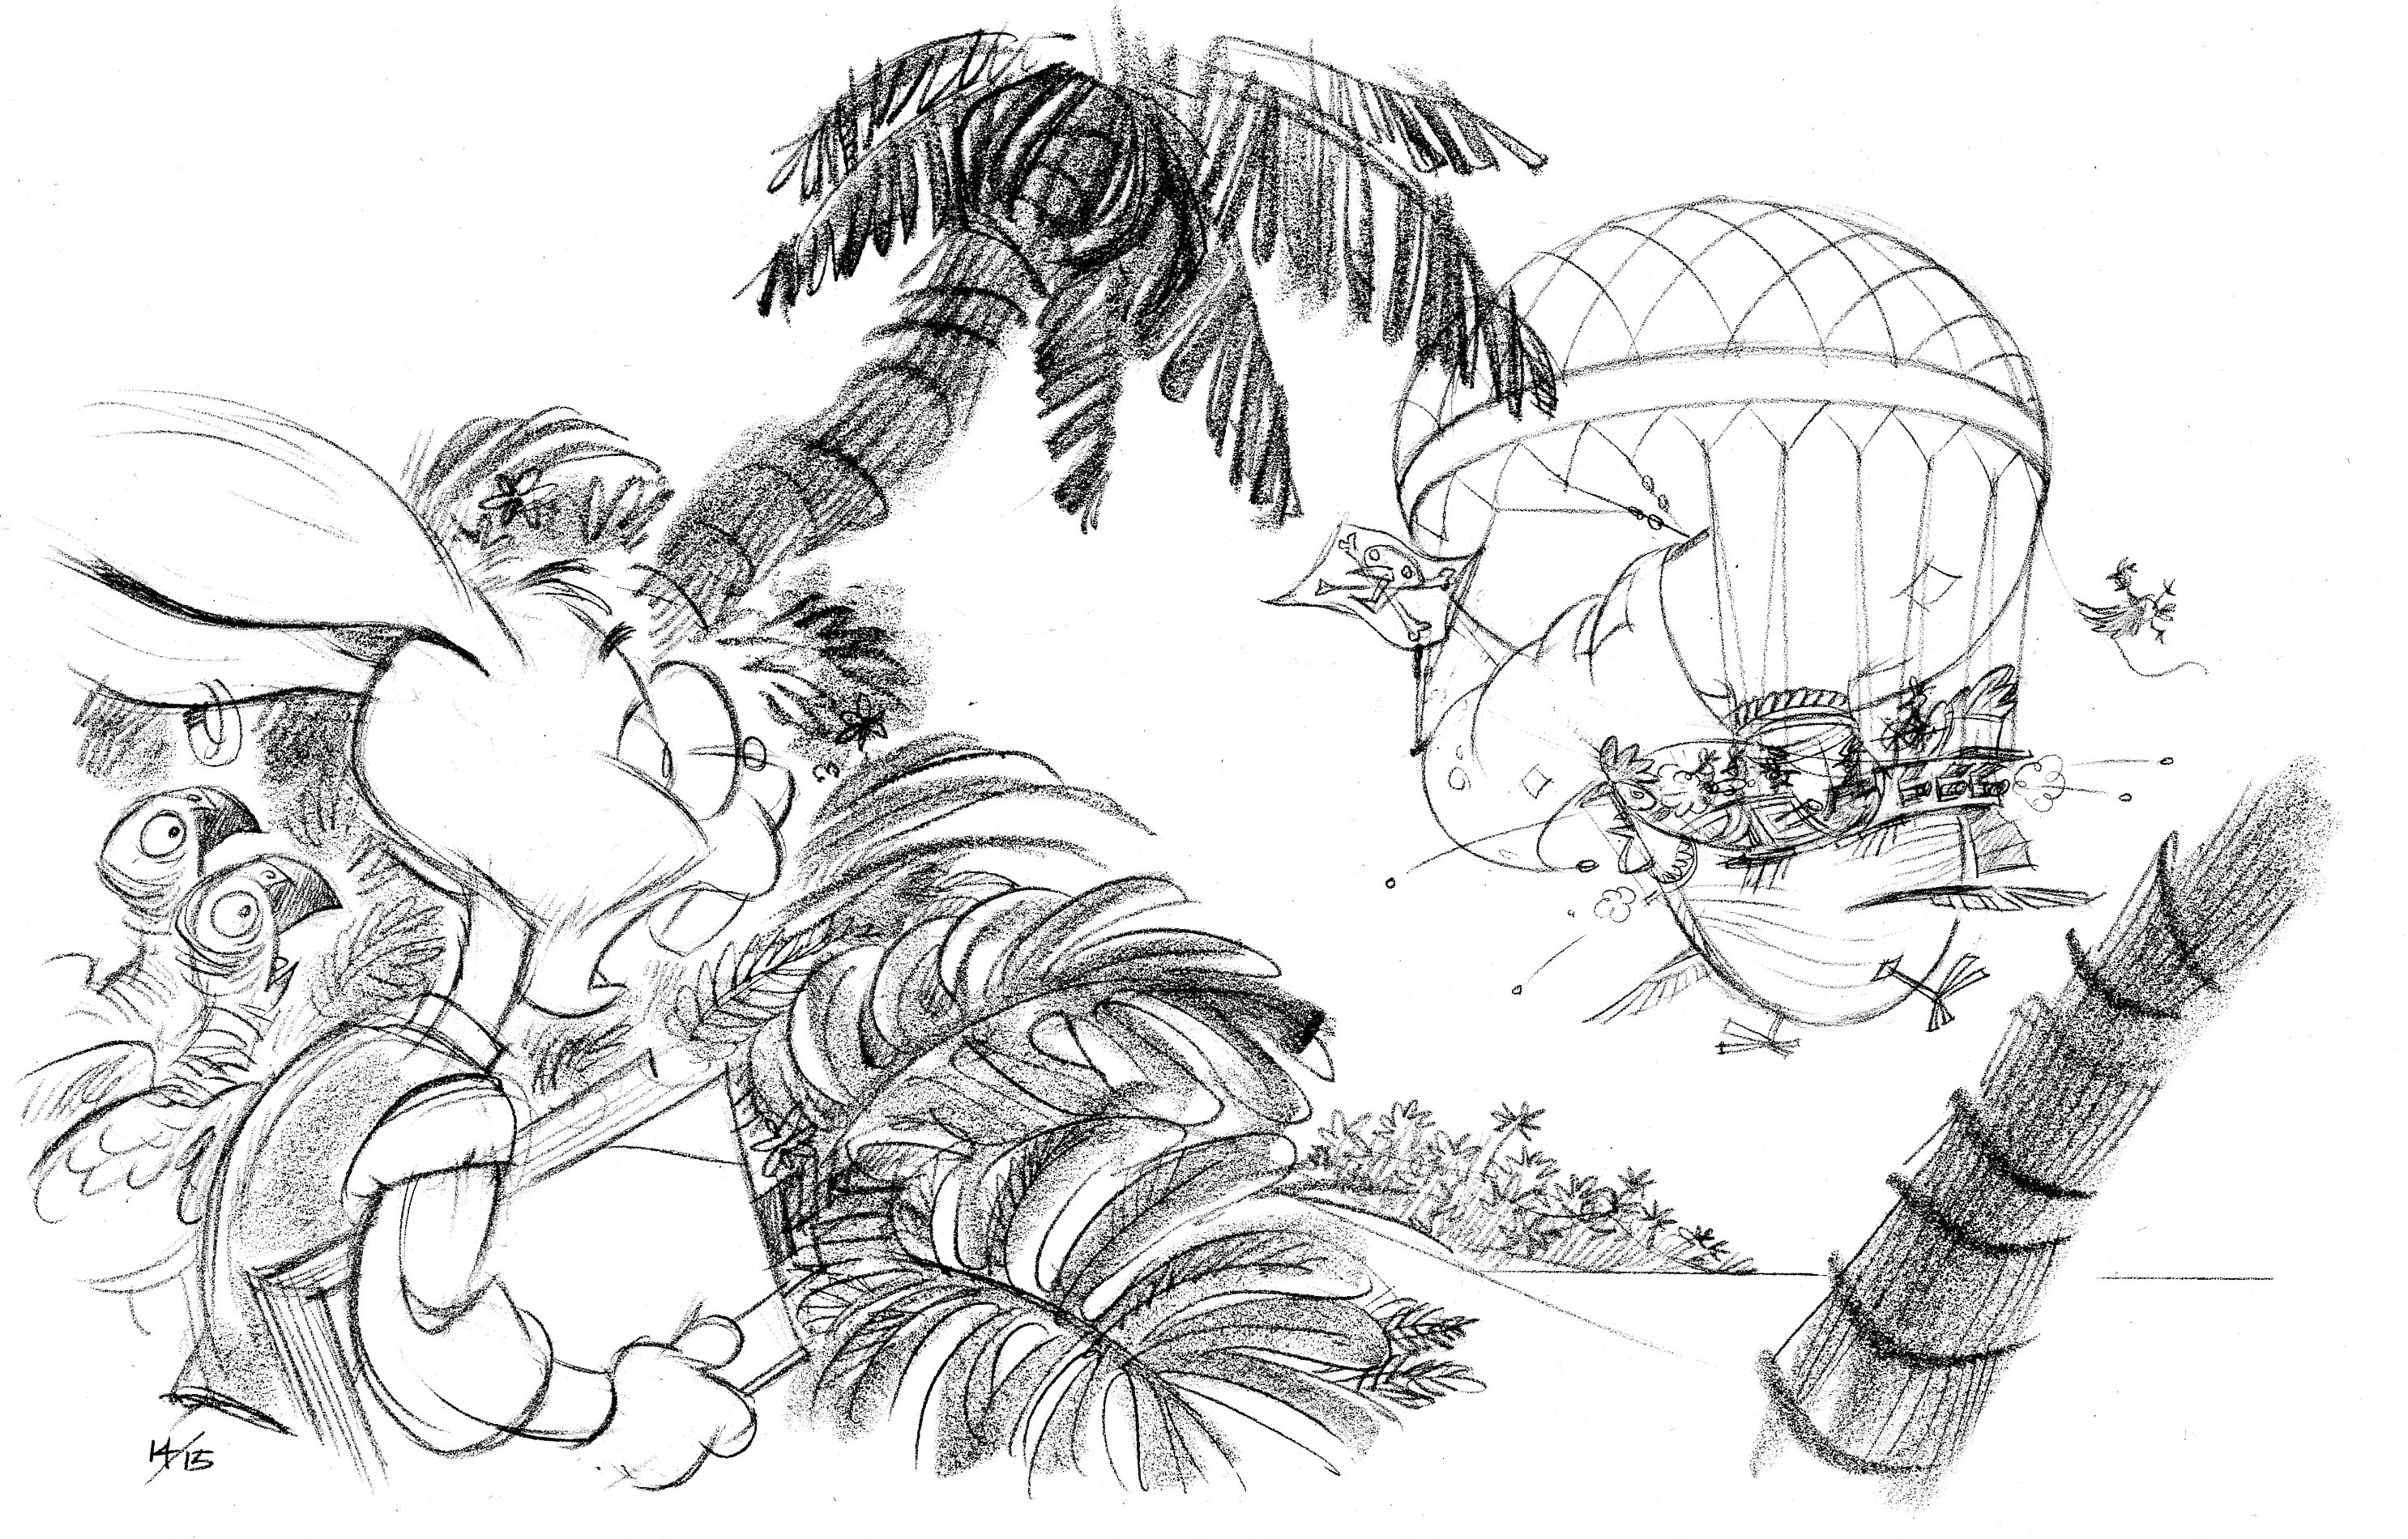
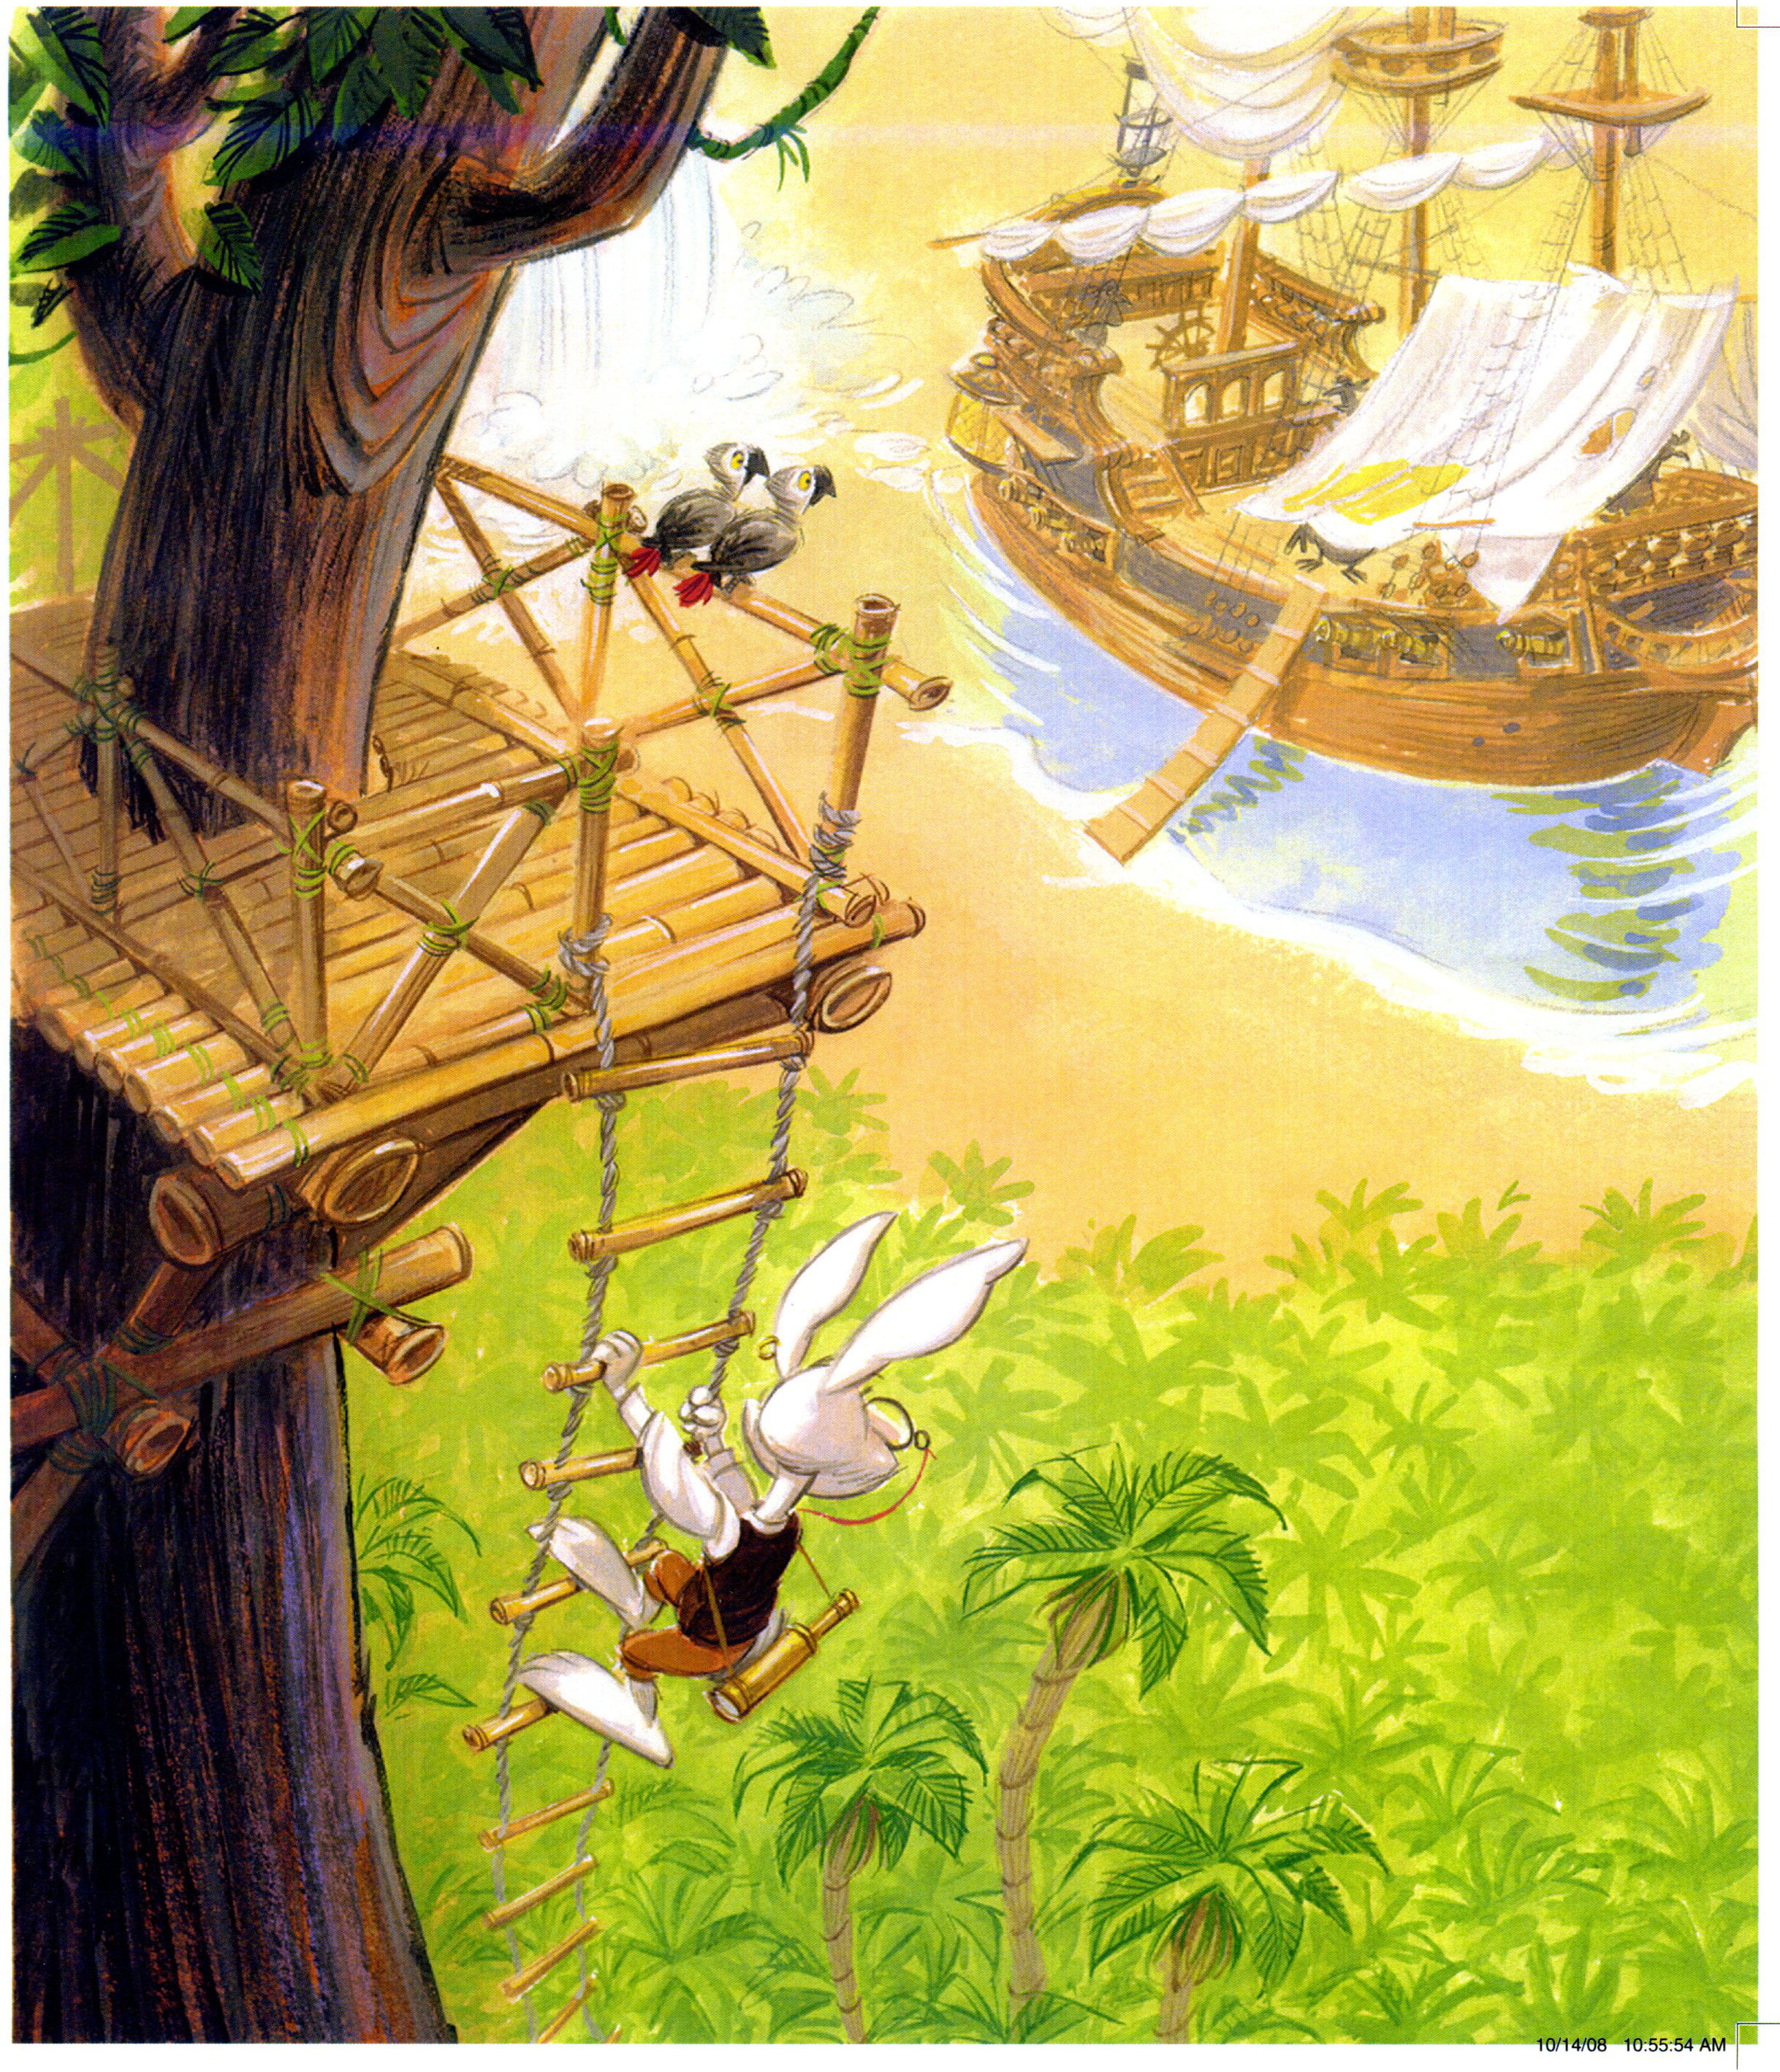
Right-hand page.  Yeah, much better.  A treetop lookout for Henry allows me to create a cinematic image, with dramatic perspective.  Henry is way up high and close to us and the Salty Carrot is below and far away.  The great height adds dramatic tension to the scene (will he fall off the ladder?), making it more important.

henry.2100

All the dark, rich colors are near to us: the tree and Henry.  No dark colors were used at all to paint the ship and palm trees below.

Henry & the Crazed Chicken Pirates

51z4gnCrSkL._SL500_AA240_

The long-awaited sequel to Henry and the Buccaneer Bunnies will hit bookstores in August.  Carolyn outdid herself with a manuscript that’s just as fun as Henry’s first adventure.

Naturally, since I’m a pirate nut, I created some character designs for the chicken pirate crew spoofing real pirates which Brethren o’ the Coast afficionadoes will recognize—

The dread Black Yolk!

The dread Black Yolk!

chickens1

chickens2

chickens3

eggland

Stede Bonnet and Edward England are actual pirate’s names.  Black Joke was Benito de Soto’s ship.  The fat captain is a take on Laird Cregar who played Captain Henry Morgan in The Black Swan.

If the portrait is anything to go by, Cregar is the spittin’ image of Morgan.

La Serenissima

Today I’m working on a night-tme scene: a lady holding a cat in 1890s Venice.  Here are the thumbnail sketch and the comprehensive sketch.

Thumbnail sketch for pp 30/31.  The opera box scene was dropped.

Thumbnail sketch for pp 30/31. The opera box scene was dropped.

Comp sketch for page 30.

Comp sketch for page 30.

I’ll start by blocking in the dark areas in Burnt Sienna.